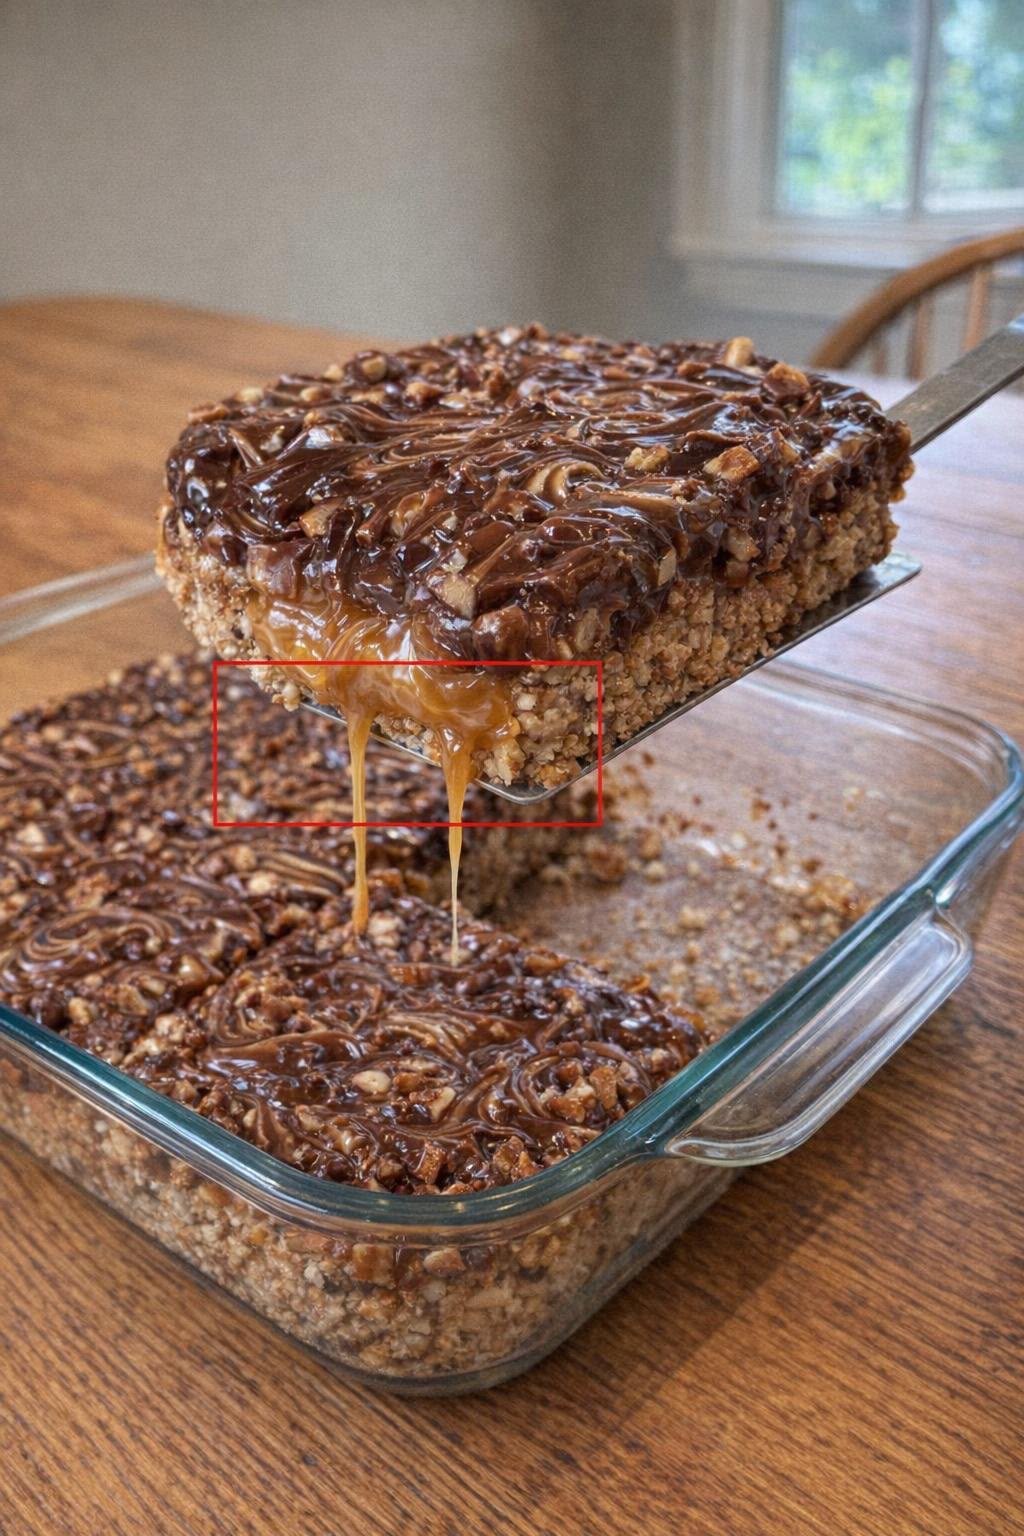
These No-Bake Chocolate Caramel Oat Bars are a rich, chewy dessert with a buttery oat base, a gooey caramel center, and a smooth chocolate topping. Every bite has the perfect mix of crunchy oats, sweet caramel, and deep chocolate flavor.
They look impressive in a baking dish, but they are wonderfully simple to make. There is no oven needed, making them perfect for warm days, busy holidays, potlucks, or anytime you want an easy dessert that feels extra special.
The hardest part is waiting for the bars to chill before cutting into that soft, caramel-filled middle.
Why You Will Love This Recipe
These bars have layers of texture and flavor without requiring complicated baking. The oat mixture forms both the base and the topping, giving the dessert a cozy, homemade taste.
The caramel layer stays soft and gooey, while the chocolate topping adds a rich finish that makes the bars feel like a bakery-style treat.
They are easy to make ahead, easy to slice, and easy to carry to parties or family gatherings. Keep them chilled for neat squares or let them sit for a few minutes at room temperature for an even softer caramel pull.
Recipe Information
- Prep time: 15 minutes
- Chill time: 2 hours
- Total time: About 2 hours 15 minutes
- Servings: 16 bars
- Difficulty: Easy
- Best for: Potlucks, holidays, parties, and make-ahead desserts
Ingredients
For the Oat Layers
- 3 cups quick-cooking oats
- 1 cup all-purpose flour
- 1 cup packed light brown sugar
- 1/2 teaspoon baking soda
- 1/2 teaspoon salt
- 1 cup unsalted butter
- 1 teaspoon vanilla extract
For the Chocolate Caramel Filling
- 1 cup semi-sweet chocolate chips
- 1 cup soft caramel candies, unwrapped
- 1/3 cup heavy cream
- 1/2 cup chopped pecans or walnuts, optional
- 1/4 teaspoon salt
Choosing the Best Ingredients
Quick-cooking oats work best because they create a tender, chewy base that slices easily. Old-fashioned rolled oats can also be used, but the finished bars will have a slightly heartier texture.
Brown sugar gives the oat layers a warm caramel flavor. Light brown sugar keeps the flavor balanced, while dark brown sugar creates a deeper molasses taste.
Use soft caramel candies for the filling. They melt smoothly with a little cream and create the gooey center that makes these bars so irresistible.
Semi-sweet chocolate chips are a great choice because they balance the sweetness of the caramel. Milk chocolate chips can be used if you prefer a sweeter dessert.
How to Make No-Bake Chocolate Caramel Oat Bars
Line an 8-by-8-inch baking dish with parchment paper or foil, leaving a little overhang on the sides for easy lifting later.
In a large saucepan over medium heat, melt the butter. Stir in the brown sugar, vanilla extract, salt, and baking soda.
Remove the saucepan from the heat. Stir in the oats and flour until everything is evenly coated and the mixture is crumbly but holds together when pressed.
Press about two-thirds of the oat mixture firmly into the bottom of the prepared baking dish. Set the remaining oat mixture aside for the topping.
In a small saucepan over low heat, combine the caramel candies and heavy cream. Stir continuously until the caramel is melted, smooth, and glossy.
Remove the caramel from the heat. Stir in the chopped nuts if using, then pour the warm caramel evenly over the oat base.
Sprinkle the remaining oat mixture over the caramel layer. Press it down very gently so the topping stays loose and textured.
Place the chocolate chips in a microwave-safe bowl. Heat in 20-second intervals, stirring between each interval, until melted and smooth.
Drizzle or spread the melted chocolate over the oat topping. Use a spoon or toothpick to create swirls if you want a decorative finish.
Refrigerate the bars for at least 2 hours, until the caramel and chocolate are set. Lift the bars from the dish using the parchment paper, then cut into squares.
Tips for the Best Bars
Press the bottom oat layer firmly into the dish. A well-packed base gives the bars a clean, sturdy shape when sliced.
Keep the caramel heat low and stir continuously. This helps it melt into a smooth, soft filling.
Use parchment paper or foil in the baking dish. It makes lifting the chilled bars out much easier and gives you cleaner cuts.
For the neatest squares, use a sharp knife warmed under hot water and wiped dry between cuts.
Let the bars sit at room temperature for about 10 minutes before serving if you want the caramel center to become extra soft and gooey.
Easy Variations
For peanut butter chocolate caramel oat bars, stir 1/2 cup creamy peanut butter into the melted caramel before pouring it over the oat base.
For a salted caramel version, sprinkle flaky sea salt over the chocolate topping before chilling.
For coconut caramel bars, add 1/2 cup shredded sweetened coconut to the oat mixture. Coconut adds a delicious chewy texture and pairs beautifully with caramel.
For a darker chocolate version, use dark chocolate chips instead of semi-sweet chocolate.
For a nut-free version, simply leave out the pecans or walnuts. The bars will still be rich, chewy, and delicious.
What to Serve with Chocolate Caramel Oat Bars
These bars are delicious on their own with coffee, tea, or a cold glass of milk.
For a more special dessert, serve a square with a scoop of vanilla ice cream. The cold ice cream and soft caramel center make a perfect combination.
They also work beautifully on a holiday dessert table beside brownies, cookies, fudge, and fruit bars.
Make-Ahead Instructions
These bars are ideal for making ahead because they need time to chill anyway. Prepare them one day before serving, cover the pan tightly, and refrigerate.
For the best appearance, cut the bars shortly before serving. Keep them chilled until you are ready to place them on a dessert platter.
They travel well in a container lined with parchment paper, making them an easy choice for potlucks and gatherings.
Storing Leftovers
Store leftover chocolate caramel oat bars in an airtight container in the refrigerator for up to five days.
Place parchment paper between layers if you stack them. This keeps the chocolate topping neat and prevents the bars from sticking together.
For a softer texture, let a bar sit at room temperature for a few minutes before enjoying it.
Common Mistakes to Avoid
Do not skip lining the baking dish. The caramel layer can be sticky, and parchment paper makes serving much easier.
Avoid rushing the chilling time. The bars need time to set so they hold their shape when sliced.
Do not overheat the chocolate. Warm it in short intervals and stir often for the smoothest topping.
Press only the bottom oat layer firmly. The top layer should stay more textured and crumbly for the best appearance.
Frequently Asked Questions
Can I use homemade caramel sauce?
Yes. Use a thick caramel sauce that will set when chilled. A softer caramel sauce may make the bars more difficult to slice neatly.
Can I freeze these bars?
Yes. Wrap individual squares tightly and freeze for up to two months. Thaw them in the refrigerator before serving.
Can I use old-fashioned oats?
Yes. Old-fashioned oats will make the bars chewier and more textured. Quick oats give a softer, more compact base.
Can I make these without nuts?
Absolutely. The nuts are optional and can be left out without changing the main recipe.
Why are my bars crumbly?
The oat base may not have been pressed firmly enough, or the bars may need more chilling time. Press the base well and chill until the caramel is firm.
Final Thoughts
No-Bake Chocolate Caramel Oat Bars are a simple dessert with a big, crowd-pleasing flavor. The buttery oat layers, gooey caramel, and rich chocolate topping create a treat that tastes homemade, comforting, and indulgent.
Make them for a holiday table, a weekend dessert, or a potluck where you want to bring something everyone will remember. Once people taste that chocolate-caramel center, they will be reaching for another square.